Server Actions and Mutations: Simplifying Data Mutation
Discover the magic of server actions—special functions that handle data mutation on the server. This guide takes you on a practical adventure, showing how to use them in a pet registration app.
Server actions are asynchronous functions that are executed on the server. They can be directly called either from client components or server components to handle data mutation without configuring the API route handler.
To use server action it is necessary to mark a function inline or at module lavel by using "user server" directive.
Note: Only server actions marked by "use server" at the module level are allowed to be called from client components.
Exploring Server Actions: A Practical Journey
Now, let's apply server actions in practice by creating a simple pet registration application using server actions.
Firt thing first let's clone the repository and get into my-pets directory then checkout to the 0-starting-point branch and run pnpm install or npm install.
This example uses vercel postgres go to vercel.com go to the storage tab and create a new database after that go to the .env.local tab copy the enviroment variables then go to your project create .env file paste the enviroment variables dont forget to add .env to .gitignore.
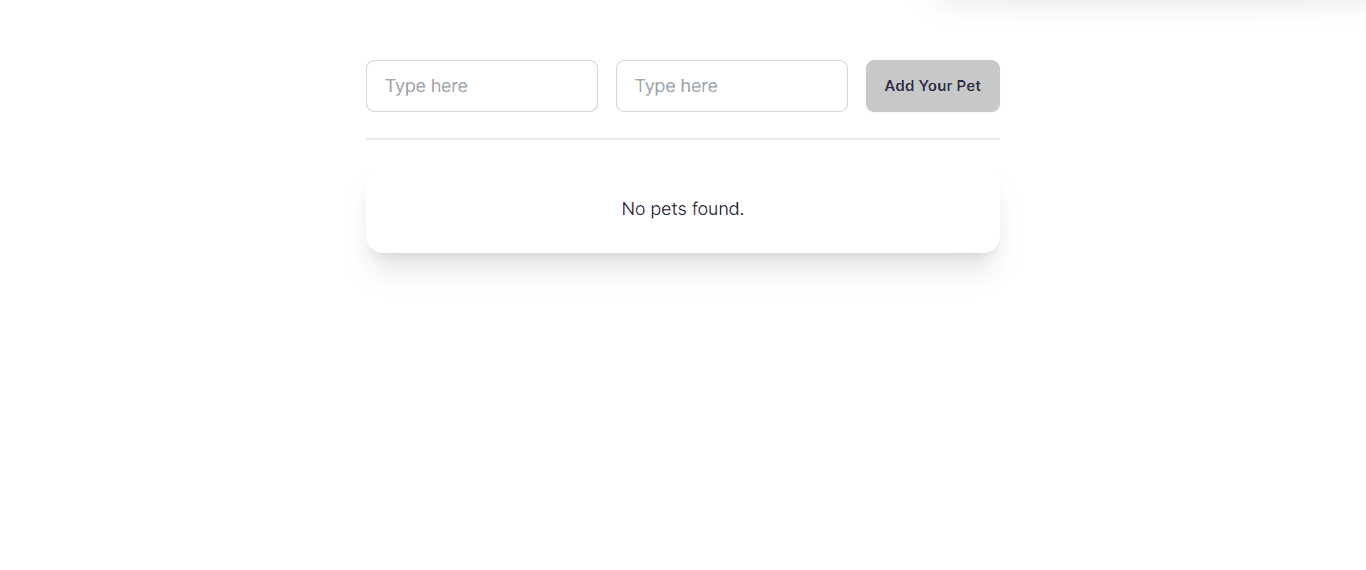
After configuring all of this if you see something like this you are good to go.

CreatePet Form with Server Action
Now let's update create-pet component
import { sql } from '@vercel/postgres';
export const CreatePet = () => {
    async function createPet(formData: FormData) {
        "use server"
        try {
            const name = formData.get("name") as string;
            const owner = formData.get("owner") as string;
            await sql`
            INSERT INTO pets (Name, Owner)
            VALUES (${name}, ${owner});
          `;
        } catch (e) {
            return { message: "Failed to create pet" };
        }
    }

    return (
        <form action={createPet} className="flex gap-4 md:flex-row flex-col">
            <div className="grid md:grid-cols-2 grid-cols-1 gap-4">
                <input
                    type="text"
                    name="name"
                    placeholder="Your pet name"
                    className="input input-bordered w-full max-w-xs"
                />
                <input
                    type="text"
                    name="owner"
                    placeholder="Your name"
                    className="input input-bordered w-full max-w-xs"
                />
            </div>
            <button type="submit" className="btn btn-active">Add Your Pet</button>
        </form>
    );
};
Note: Now, this component is a server component, and it functions even if JavaScript is disabled or hasn't loaded yet. Now that we have used the HTML form actions attribute and implemented a server action, let's add pending status and cache revalidation to ensure the server action sends the new UI. Let's get started.
Adding Pending State
lets crate a new client component inside componets/submit-button.tsx
'use client'
import { useFormStatus } from "react-dom"

type SubmitButtonProps = {
    btnText: string
}
export function SubmitButton({ btnText }: SubmitButtonProps) {
    const { pending } = useFormStatus()

    return (
        <button type="submit" className={`btn btn-active ${pending && "btn-disabled"}`}
        aria-disabled={pending}>
            {btnText}
        </button>
    )
}
Let's substitute the submit button in our create-pet form with the SubmitButton component.
Now, you'll notice a disabled state when the form is submitted, and we are utilizing aria-disabled to ensure the input won't be removed by certain screen readers on disabled,and it will be accessible.
Next, let's incorporate form validation and error handling into our form.
Server Side Form Validation and Error Handling
Now, it's time to relocate our server action to actions/pet.ts as we need to transform our form into a client component to display error statuses.
Let's add a Zod schema to our application inside actioins/pet.ts.
const schema = z.object({
  name: z.string().min(1, { message: "Pet name required." }),
  owner: z.string().min(1, { message: "Owner name required." }),
});
Validate the form data and send the errors if there are any
const validatedFields = schema.safeParse({
    name: formData.get("name") as string,
    owner: formData.get("owner") as string,
})

if (!validatedFields.success) {
    return {
        errors: validatedFields.error.flatten().fieldErrors,
    }
}
Now let's show the errors on our form.
const [state, formAction] = useFormState(createPet, null);
And now lets render the erros like this.
<p className="text-sm text-red-600 p-2">
  {state?.errors?.name?.map((err) => err)}
</p>
checkout the complete source code here.
Why Server Actions
- Progressive enhancement server actions function seamlessly on form submit, whether JavaScript is disabled or not yet loaded, and get enhaced when JavaScript becomes available.
- Server actions can be used for sending result cacheing, revalidation and sending a new UI with on server round trip.
- Can be used out side the form.
- Can be used inside client and server component in type safe manner.
- Can be called easy from form with form action attibute.
- Good developer experience.